
"Create Your Own Aviary Jacket: A Perfect Guide for Beginners to Save Money and Craft Like a Pro!"
Have you ever wanted to create your very own dream varsity jacket but didn't know how to make a varsity jacket without making any blunders for the first time? Or perhaps you always wished you could channel your inner designer and come up with an exclusive piece tailored just for you without much affecting your pocket? If you answered yes, then keep reading! In this detailed blog, we will guide you through the entire process of making a varsity jacket step by step so that even as a beginner, you will be able to complete this exciting project by yourself at Home without having to buy you.
If you're new to sewing and creating garments or don't consider yourself particularly crafty, don't worry! This step-by-step method has been designed specifically for beginners like you. Throughout your creative journey, we will provide easy-to-understand explanations, helpful tips, and visual aids on how to make a varsity jacket quickly and also ensure you fully grasp each concept:
Now that you're acquainted with the benefits and suitability of the project, let's dive right into the actual process! In the upcoming sections, we'll break down each component, from selecting appropriate designs, sourcing materials, learning sewing skills, and assembling the jacket.
Here's a detailed breakdown of all the materials you'll need and their uses for creating your masterpiece:
To ensure a perfect fit, find a suitable pattern or template for your jacket's overall design.
For various jacket components, remember that wool generally works best for the body and leather or faux leather for the sleeves.
This versatile material is great for cuffs, collars, and waistbands to give your jacket a comfortable and snug fit. Remember, details are everything!
These allow for personal touches and unique embellishments on your jacket, taking it from ordinary to extraordinary!
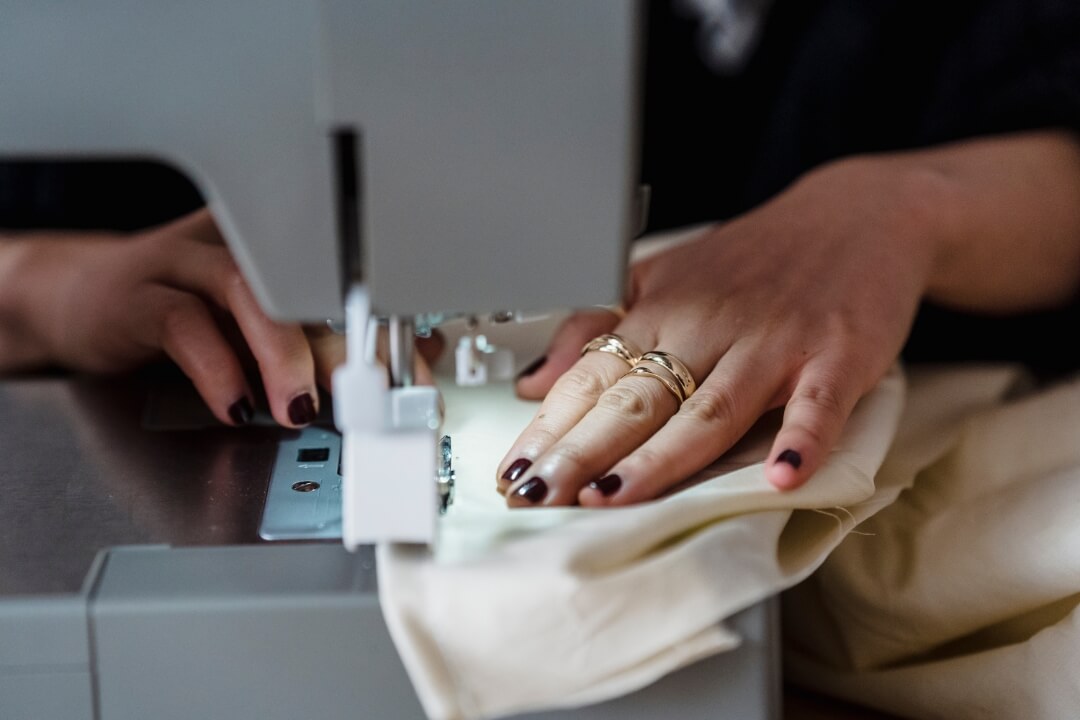
Essential! Your sewing machine is the backbone of your project – it's going to make assembling the jacket a whole lot easier and quicker.
You'll need scissors to make clean cuts on your fabric, creating sharp and neat lines for your personalized jacket.
Super important for holding the fabric in place as you sew, preventing accidental wiggles, and ensuring excellent accuracy.
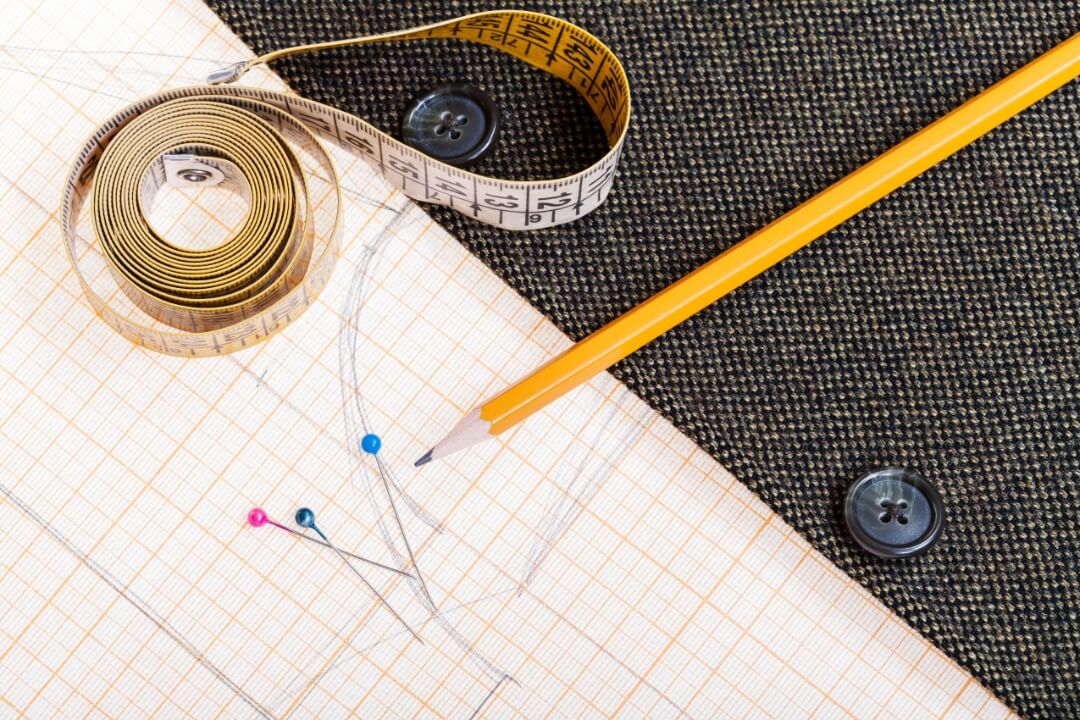
These handy tools help you make precise markings on your fabric, directing you exactly where to cut, stitch, and embroider.
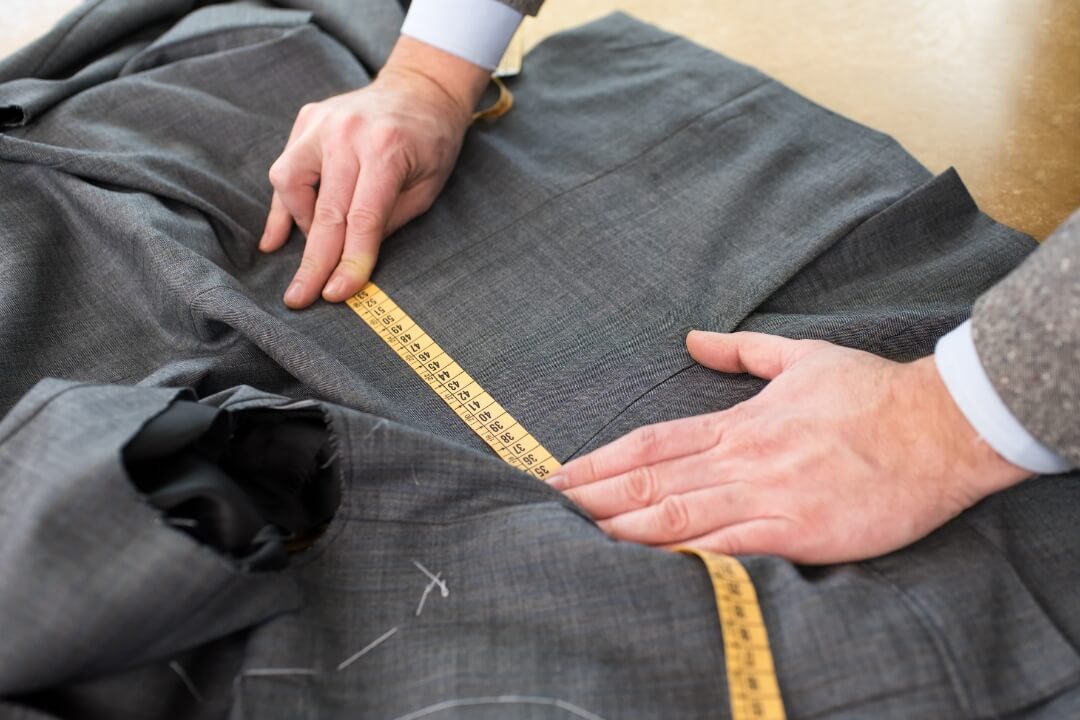
These measuring instruments will guarantee the perfect fit for your jacket, ensuring both comfort and style as a result.
First things first, let's talk about sizing and measuring if you want to learn how to make a custom varsity jacket. It's vital to find the correct jacket size to ensure the perfect fit for your personalized varsity jacket. To avoid any major fitting disappointments, follow this process:
Begin by studying size charts of standard varsity jackets available online or in stores. Determine the suitable dimensions considering your body metrics while providing sufficient space for relaxation and unimpeded motion.
An accurate assessment of your body and arm dimensions is vital in customizing the jacket to fit your specific measurements. Gauge your chest, waist, and shoulder spans, in addition to the preferred arm length, to construct a cozy and balanced work of art.
Now that you have all your measurements, it's time to draft the pattern. Using a pattern/template as a reference, adapt it to your specific measurements, making modifications where necessary. This process sets the foundation for your jacket's overall design and fit.
With your customized pattern, trace the various components onto your chosen fabric using chalk or a fabric marker. Then, carefully but confidently cut the fabric pieces, creating perfect lines to assemble your superb varsity jacket.
Before we begin, gather all the necessary tools and materials, such as fabrics, sharp scissors, measuring tapes, needles, threads, and any decorations you desire on your jacket. It's crucial to have everything on hand so that your creative process flows smoothly.
Once you're all set up, it's time to cut the fabric for the jacket's body and sleeves and the ribbing for the collar, cuffs, and waistband. Remember to follow the template or pattern you chose carefully to ensure perfect proportions!
Now comes the fun part – personalizing your jacket! You'll spice it up with your favorite patches, embroidery designs, or even monograms.
Not done yet? No worries - we're also covering the final touches, such as customizing your jacket with [buttons and zippers] and making sure your attire remains perfectly intact by checking seams and embroidery.
Whether you prefer the sleekness of a zipper or the classic look of button snaps, attaching your choice of closure is a vital finishing touch for your varsity jacket.
A meticulous final inspection of seams and embroidery ensures a durable, polished, and flawless piece.
This step guarantees that all elements remain firmly in place, so everything stays put when you show off your creation.
Keeping your jacket neat by removing excess strands bestows a refined, expert finish.
Congratulations! You've just completed the process of creating your very own unique varsity jacket right at Home. Together, we've walked through each step of how to make a varsity jacket from scratch, highlighting the importance of precise measurements, quality materials, and personalized embellishments. Remember to admire your craftsmanship and appreciate your hard work—there's no feeling quite like creating something you can wear with pride.
Now's the time to showcase and flaunt your new, stylish creation amongst friends and family, who will no doubt be impressed by your skill and talent. Most importantly, this DIY journey has demonstrated that, with dedication and a little guidance, achieving amazing results is within reach for anyone—even total beginners.
Q: What type of fabric should I use for my DIY varsity jacket?
A: Choose a sturdy fabric such as wool or a blend of polyester and cotton for the body and faux leather or cotton twill for the sleeves.
Q: How do I ensure a perfect fit for my jacket?
A:Taking accurate measurements is key. Use a tape measure and ruler to get precise measurements for your body and sleeves.
Q: What tools/materials are essential for this project?
A: You'll need fabric, scissors, pins, chalk/fabric marker, tape measure, ruler, sewing machine, embroidery materials (if desired), and any preferred customizations like buttons, zippers, or patches.
Q: Can I add custom logos, patches, or embroidery designs to my jacket?
A: Absolutely! Personalize your jacket by designing your own logo, buying pre-made patches or manufacturing custom patches, and embroidering your final artwork into the fabric.
Q: How do I attach button snaps or a zipper?
A: Installing button snaps requires specialized tools like snap pliers and studs, while a zipper can be easily sewn in with a sewing machine or by hand.
Q: Should I pre-wash my varsity fabric before starting the project?
A: Yes, pre-washing varsity jacket fabric helps prevent future shrinkage and allows you to check the fabric's colorfastness before committing to the project.